Gatekeeper is a security feature of Apple’s MacOS operating system. It enforces code signing and verifies downloaded applications before allowing them to run, thus reducing the likelihood of unintentionally executing malicious software. Gatekeeper is built on top of File Quarantine, which was introduced in Mac OS X Leopard and extended in Mac OS X Snow Leopard, meaning it has been available on Macs since version 10.7.3.
What is System Integrity Protection (SIP)
System Integrity Protection (SIP, sometimes referred to as rootless) is a security feature of Apple’s macOS operating system introduced in OS X El Capitan (OS X 10.11). It includes a number of mechanisms enforced by the kernel. One core component is protecting system-owned files and directories against modifications by processes with no specific “entitlements,” even when executed by the root user or a user with root privileges (sudo).
Apple states that the root user can be a significant security risk to the system, especially on systems where a user account is also an administrator. System Integrity Protection is enabled by default but can be disabled.
How to Disable Gatekeeper on Mac
The steps to disable Gatekeeper are as follows:
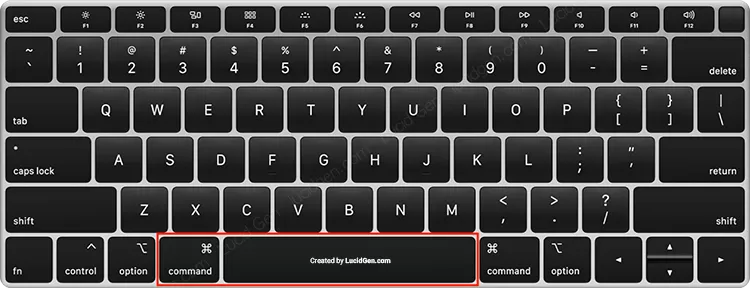
Step 1: Open Terminal quickly by pressing Command Space or F4 on MacBook Pro 2021, then search for Terminal.
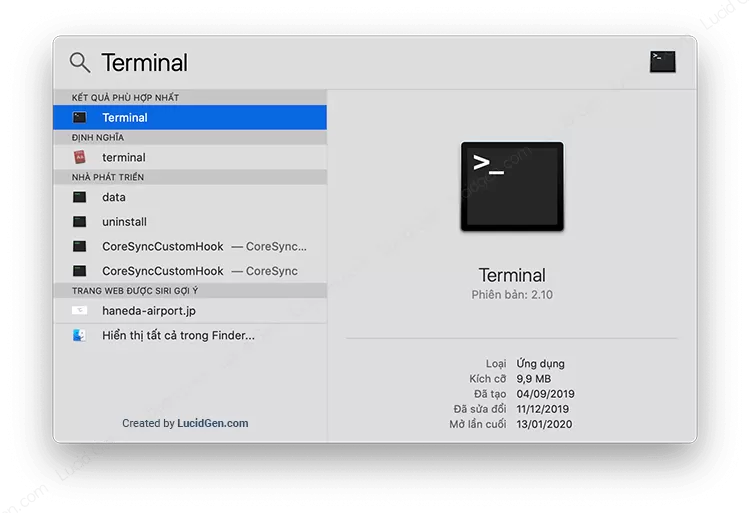
Step 2: Type the following command in Terminal to request disabling Gatekeeper on Mac.
sudo spctl --master-disable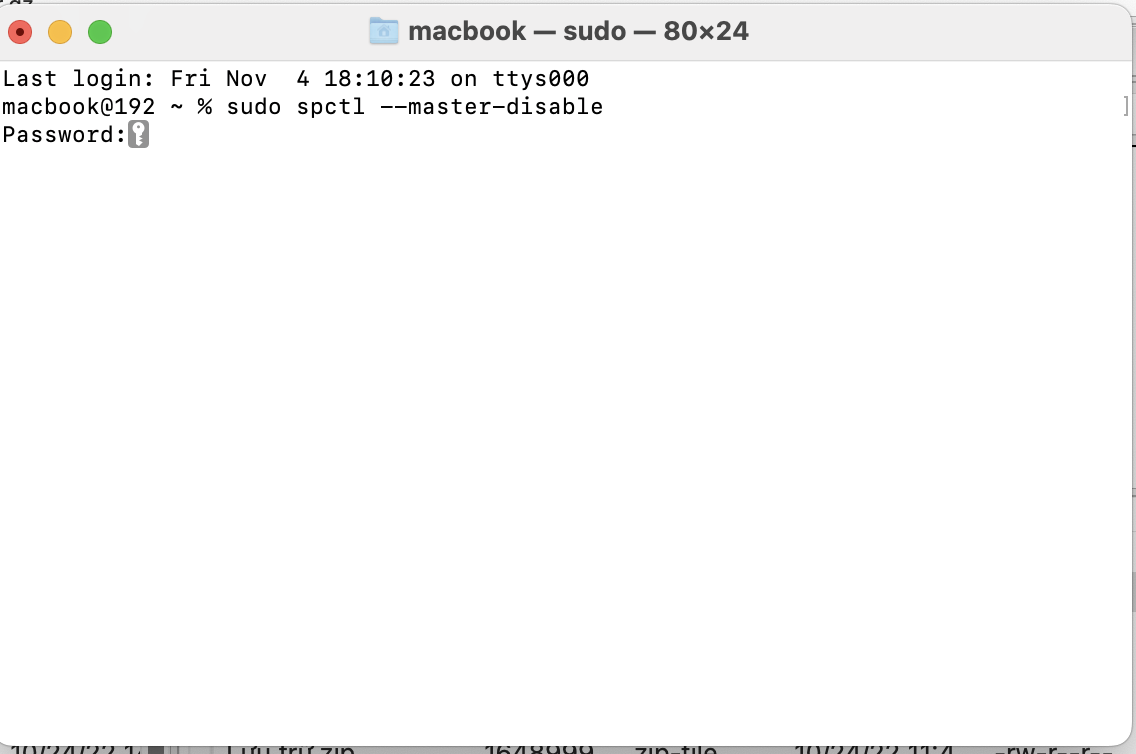 Step 3: Enter your MacBook user password. Note that when you enter it, it will not be displayed, you just enter it and press Enter. If the password is correct, Terminal will return the result as shown in the image.
In case you enter the wrong password, it will display “Sorry, try again.” Just re-enter the correct password and press Return.
Step 4: Check if Gatekeeper has been successfully disabled by entering the following command and clicking Enter.
spctl --statusWhen Terminal returns the result “assessments disabled,” you have successfully disabled Gatekeeper.
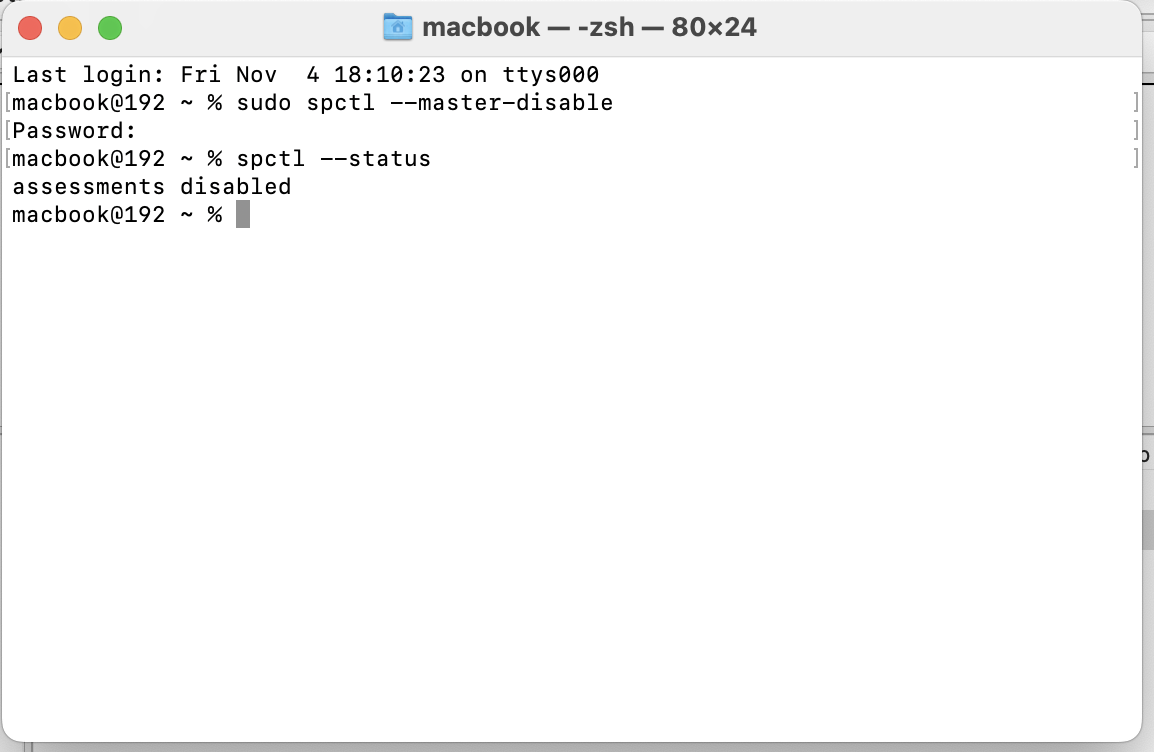
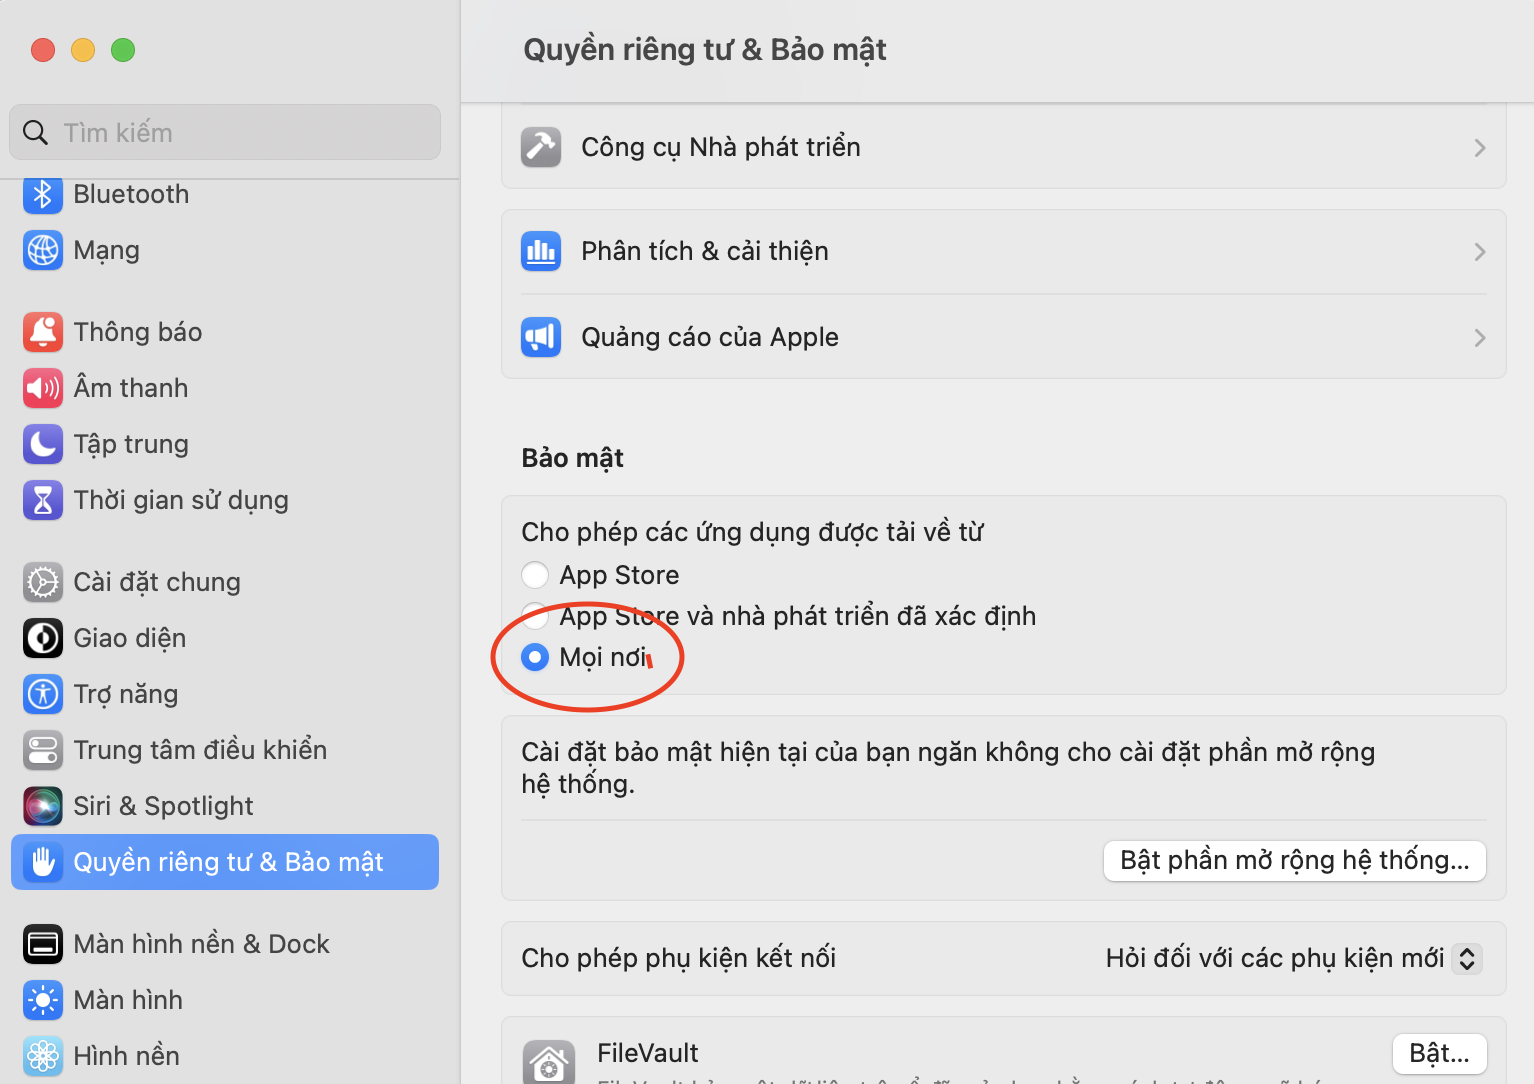
When you disable Gatekeeper on your MacBook, it means you have enabled the “Anywhere” option. You can install applications downloaded from “Anywhere.”
You can check by opening “Security & Privacy” and viewing the “General” tab.
How to Enable Gatekeeper on Mac
To enable Gatekeeper, you also open Terminal as instructed above. Then enter this command to request enabling Gatekeeper.
sudo spctl --master-enable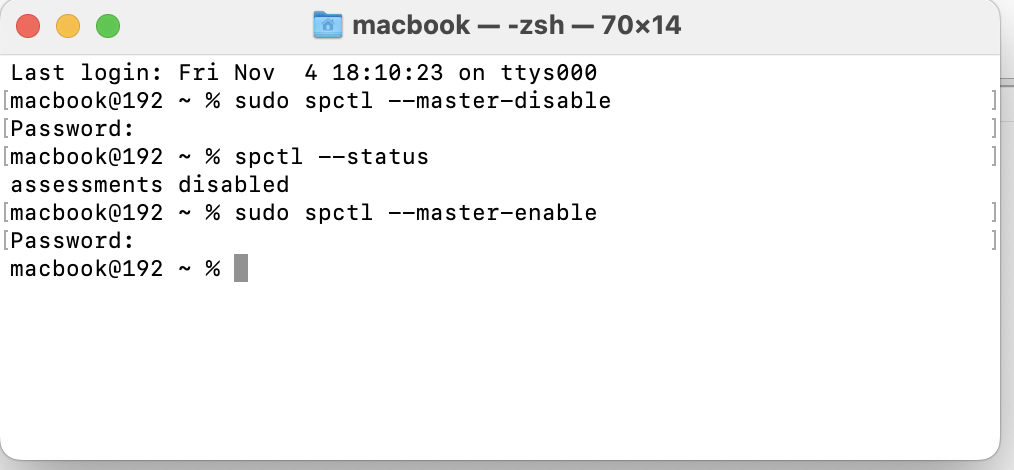
Then enter your user password and press Return.
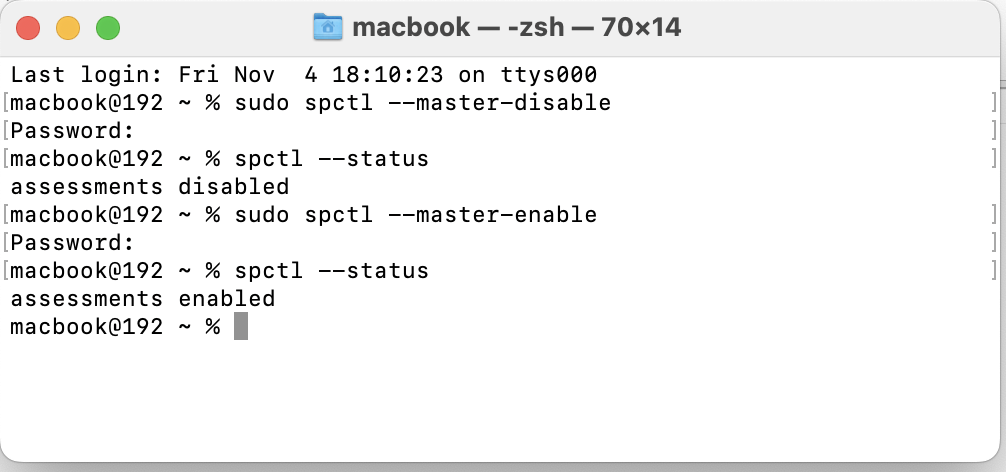
You can check if Gatekeeper is enabled by entering the next command and pressing Return.
spctl --statusWhen the Terminal returns “assessments enabled,” you have successfully enabled Gatekeeper.
How to Disable System Integrity Protection (SIP) on Mac
The steps to disable System Integrity Protection (SIP) on Mac are as follows:
Step 1: To disable System Integrity Protection (SIP) on Mac, you need to boot into Recovery mode.
| macOS | Apple M1 Chip | Intel Chip |
|---|---|---|
| Big Sur (11.0) and above | Shut down Mac completely > Press and hold the power button until the “Loading boot options” message appears on the screen. | Open Apple menu > Restart while holding down the Command and R keys during startup. |
| Catalina (10.0) and below | Open Apple menu > Restart while holding down the Command and R keys during startup. |
Step 2: Open Terminal from the menu bar.

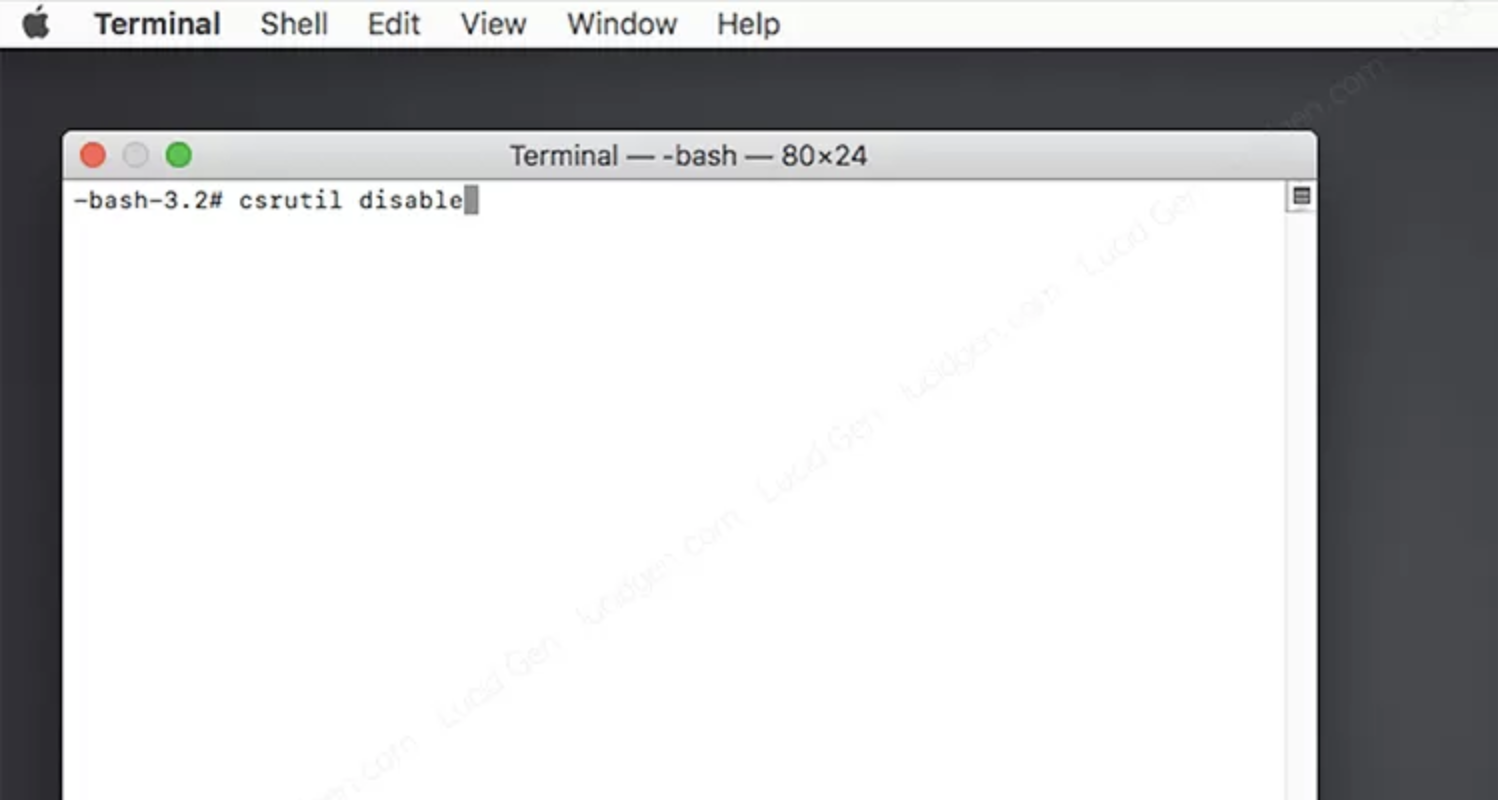
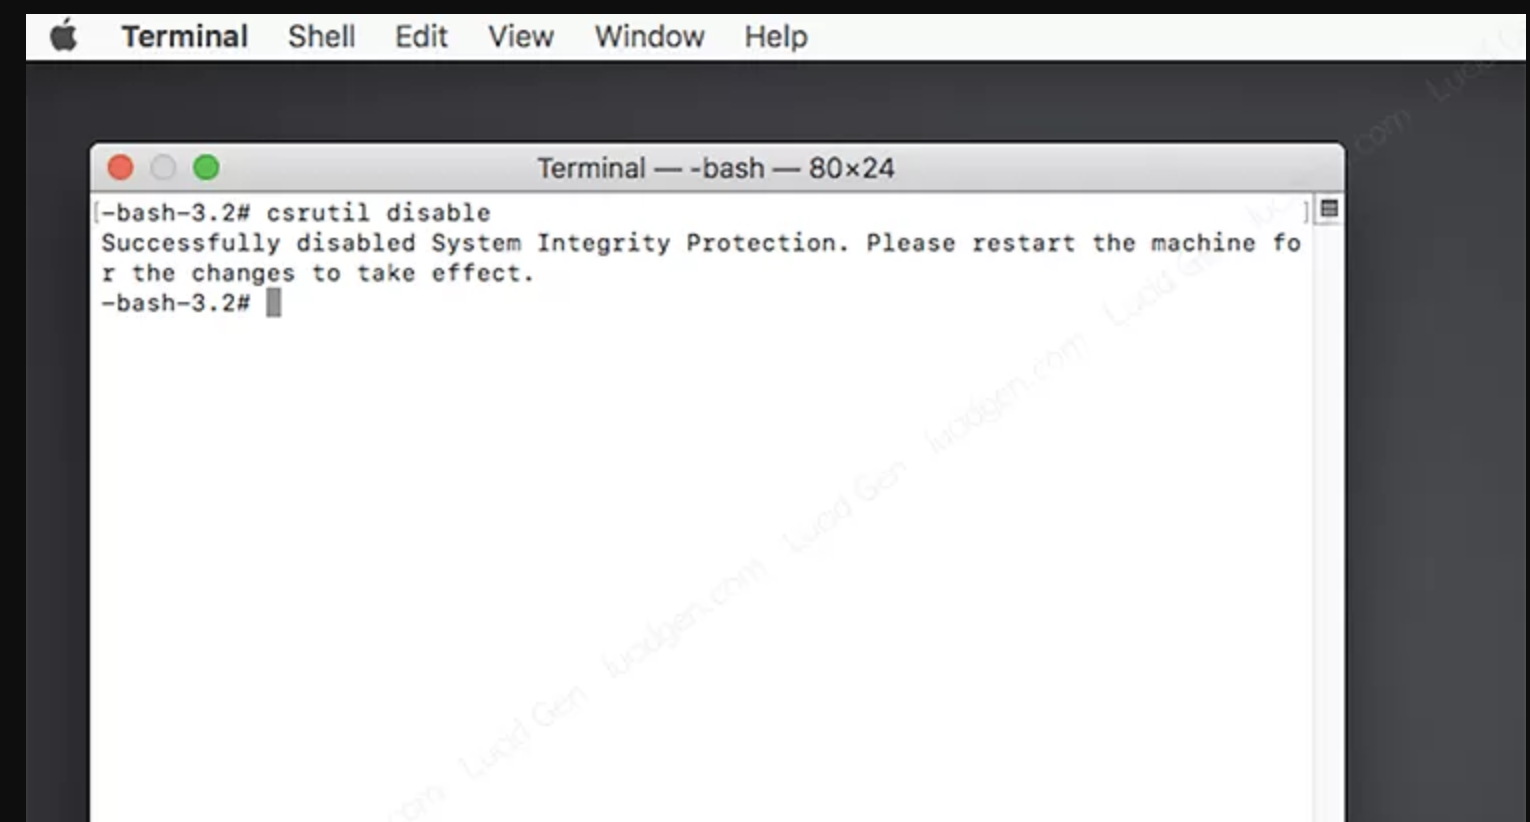
Step 3: Type the following command and press Enter to request disabling System Integrity Protection (SIP) on Mac.
csrutil disableFor Macbook M1, you will be prompted with:
Turning off system integrity protection requires modifying system security.
Allow booting unsigned operating system and any kernel extensions for OS “Macintosh HD”? [y/n]Enter Y (then press Enter).
Then enter your MacBook user password and press Enter.
Step 4: Check the result returned by Terminal. If it shows “Successfully disabled System Integrity Protection,” you have successfully disabled System Integrity Protection (SIP) on Mac. Restart your Mac by entering the command “reboot” and press Enter.
Macbook M1 will return multiple lines, but “System Integrity Protection is off” indicates success.
How to Enable System Integrity Protection (SIP) on Mac
To enable System Integrity Protection (SIP) on Mac, you also enter Recovery mode as instructed above. Open Terminal and enter the following command to request enabling System Integrity Protection (SIP) on Mac.
csrutil clear
csrutil enable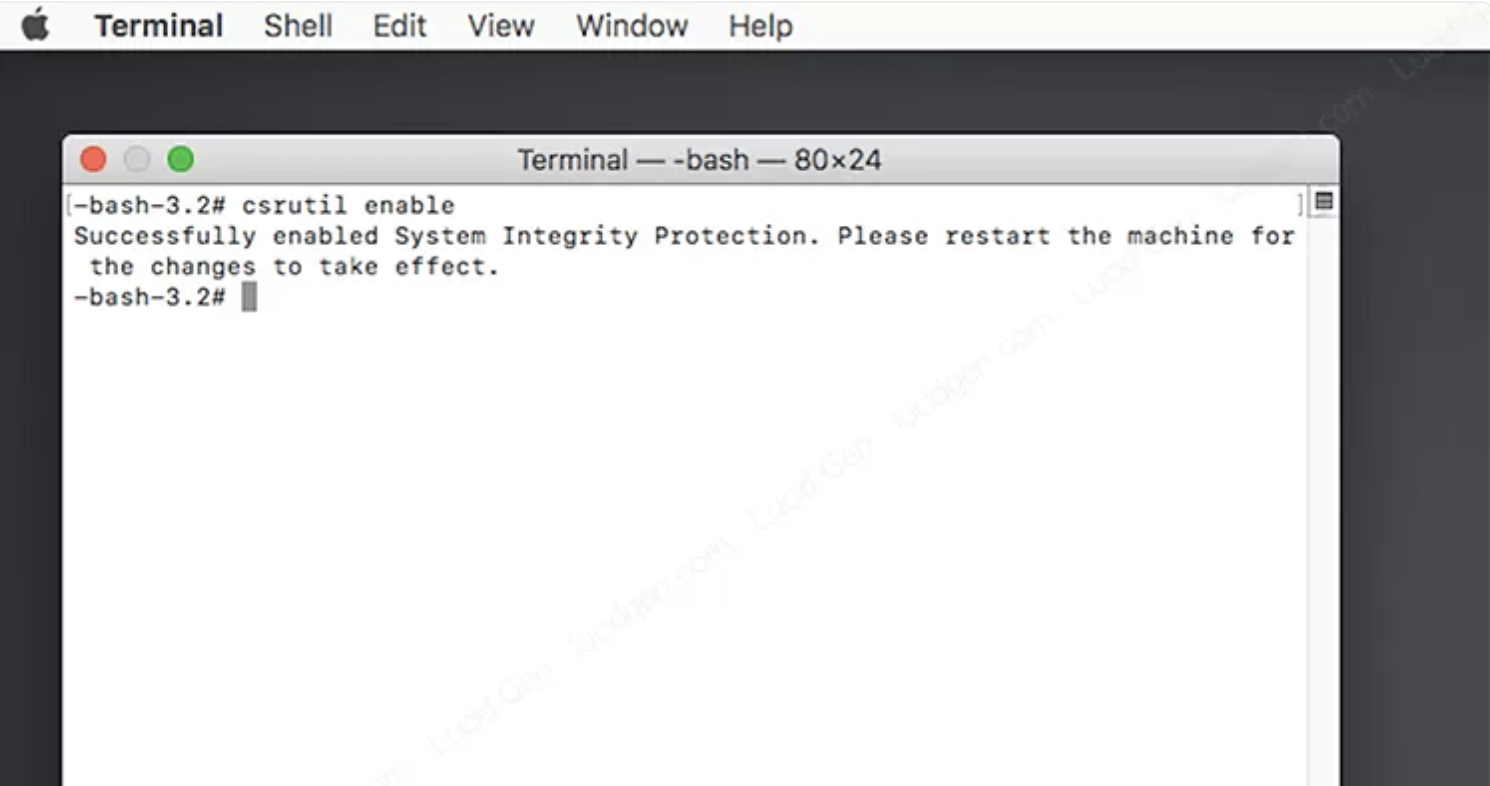
When System Integrity Protection (SIP) is successful, Terminal will return “Successfully enabled System Integrity Protection.” You can then enter “reboot” to restart your Macbook.


