


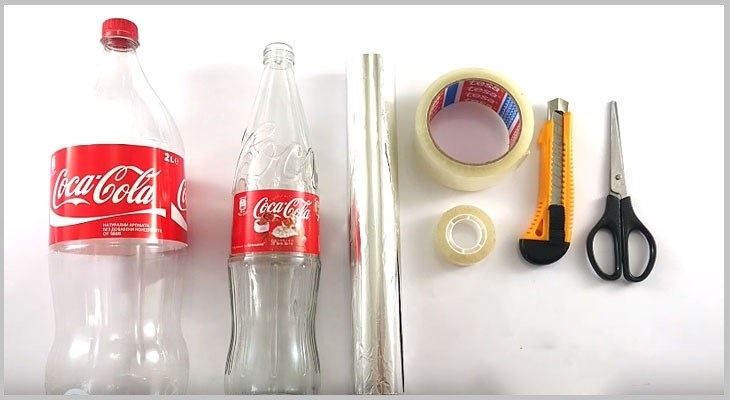
1. Preparation tools
- 1 2L plastic bottle
- 1 glass bottle
- Silver paper
- Tape
- Scissors
- Knife
2. Instructions for making the bottle shell
Step 1: Clean the 2L plastic bottle with soapy water
To remove any dirt inside the bottle, clean it with soapy water. Put some dish soap into the bottle, then add hot water and shake vigorously. Rinse the bottle several times with warm water to clean the soap inside.
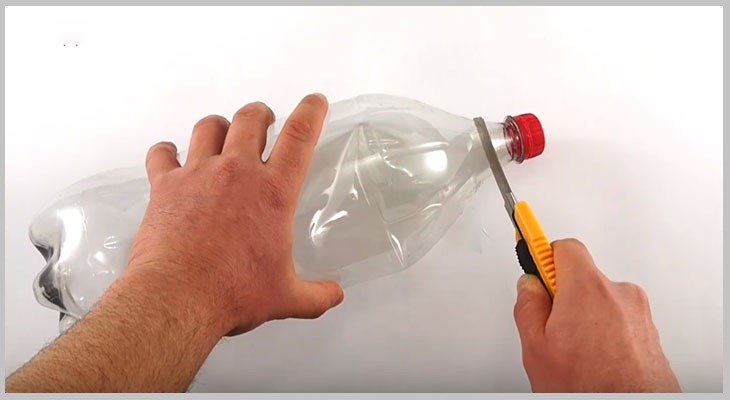
Step 2: Cut the neck of the bottle with scissors
Place the blade of your scissors about 3cm below the bottle cap and gently cut around the bottle.
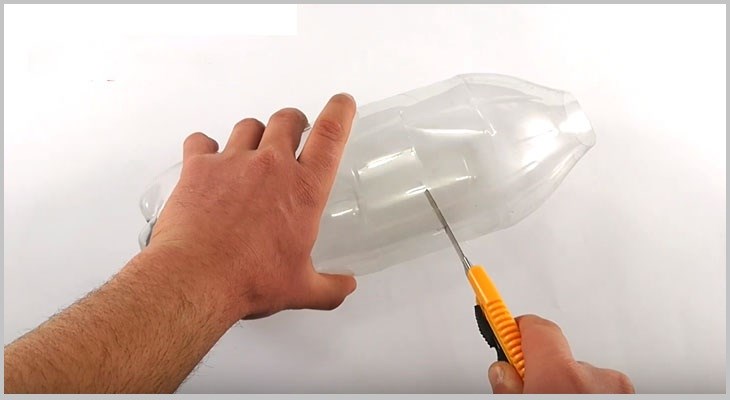
Step 3: Separate the bottle body in half
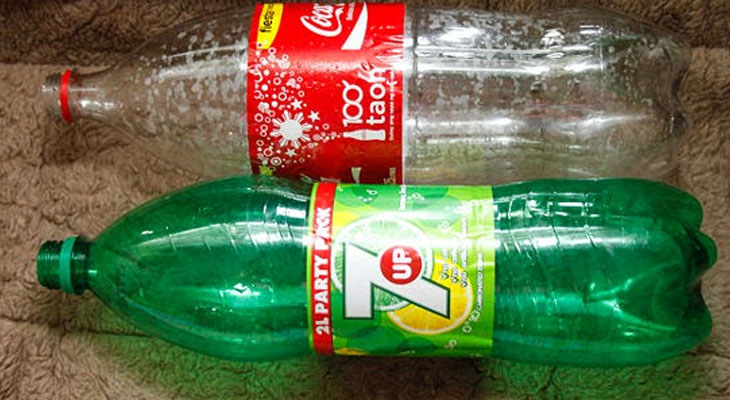
Push the blade of the knife into the plastic body to separate the bottle body. Hold the scissors with your dominant hand to cut the bottle without cutting your hand. Remove any labels before cutting the bottle.
3. Instructions for making the bottle liner
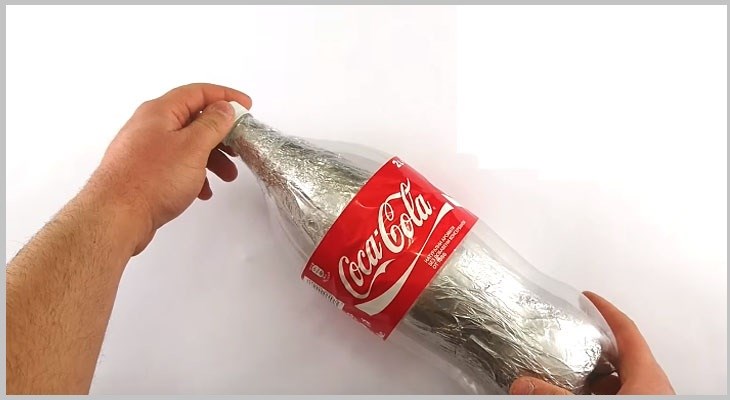
Step 1: Wrap the glass bottle with silver paper
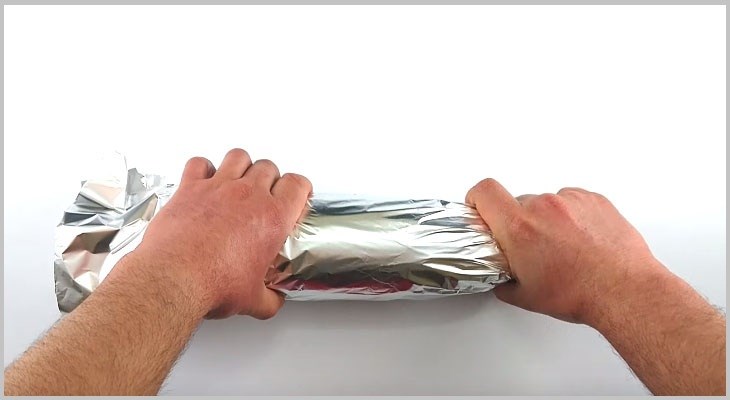
Rinse the glass bottle with hot water to ensure cleanliness. Cut a piece of silver paper large enough to wrap around the entire bottle. Wrap the silver paper tightly around the glass bottle and secure it with tape.
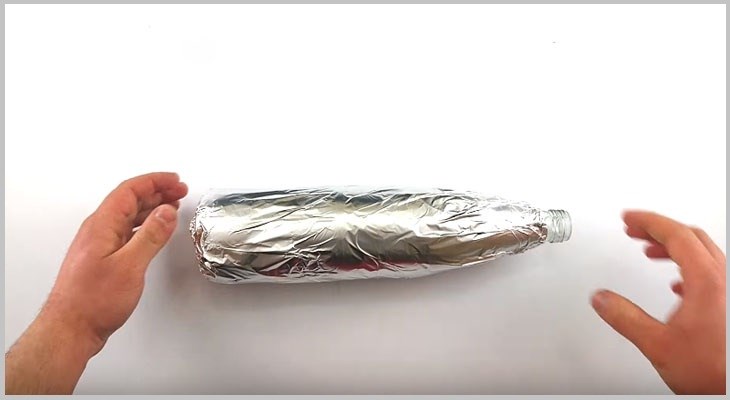
Wrap 2-3 layers of silver paper around the glass bottle to create insulation and a reflective surface.
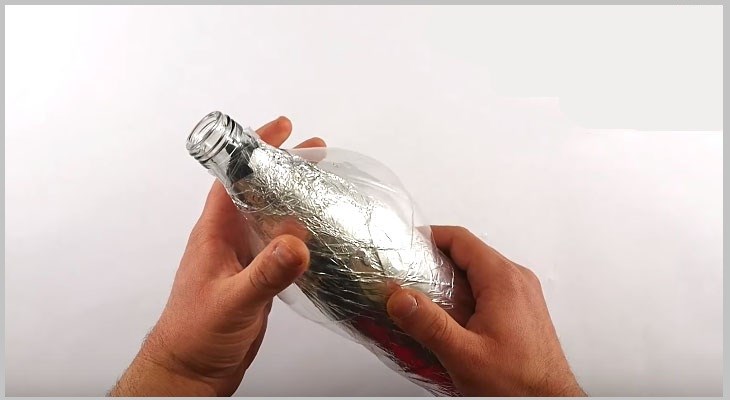
Step 2: Secure the top of the bottle shell
Place the top half of the plastic bottle on top of the glass bottle, ensuring the cap is outside the plastic bottle neck. Use tape or a glue gun to secure the plastic bottle and the glass bottle.
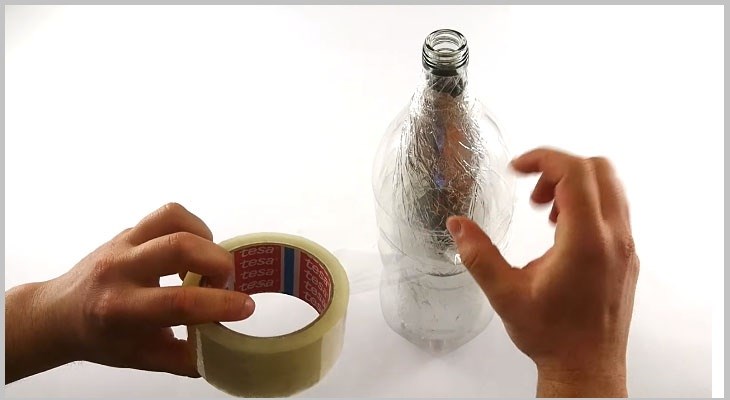
Step 3: Secure the bottom part of the bottle shell
Place the glass bottle into the bottom part of the bottle and secure the top and bottom parts with tape. Wrap several layers of tape around the bottle to prevent it from falling off during use.
You have now completed a thermal bottle using the above steps.
If you have any other methods, please share them in the comments below!
Outcome of Putting 3 Silver Coins in Washing Machine Unexpectedly Revealed

Most people know the basic steps of how to run a washing machine – load it up with clothes, pour in some detergent, hit start – but that may not be enough to ensure your laundry is optimally washed.
Is Cooking with Aluminum Foil in an Air Fryer Healthy?

Are you wondering about the safety of using aluminum foil in an air fryer? We will look into the matter and provide you with an answer.
“Discover Different Ways to Enjoy an Avocado by Trying Different Levels of Ripeness”

If you’ve been wanting to give the popular durian fruit a try but aren’t sure how to open it, this article is here to help! Discover the simple steps to cut and open a durian to savor its delicious flavor in no time!
Construct a Savory Rose Arrangement with Chilli Peppers and Deli Meats

If you’re seeking to create an impactful and flavorful dish, why not experiment with this decorative rose made with chili peppers and cold meat? With just a few simple steps, you can make a stunning and tasty addition to your next dish.
“How to Sharpen a Knife in 3 Easy Steps Using Newspaper”

Tired of having dull knives in your kitchen? Don’t worry – there’s a simple solution! In this article, we will demonstrate an easy way to sharpen your knives using nothing but common newspapers. Your knives will be as sharp as ever in no time!


