Tips for Removing Yellow Stains from Kitchen Walls
Over time, kitchen walls can develop unsightly yellow stains from exposure to various food, spices, and grease. Unfortunately, these stains can be challenging to fully eliminate, often becoming stubborn and resistant to traditional cleaning methods.
Please refer to the following guidelines for effectively cleaning yellowed kitchen walls:
1. Vinegar solution: Create a mixture of equal parts white vinegar and water. Apply the solution to the affected areas using a sponge or cloth. Gently scrub the walls to remove the yellow stains. Rinse with clean water and dry the walls thoroughly.
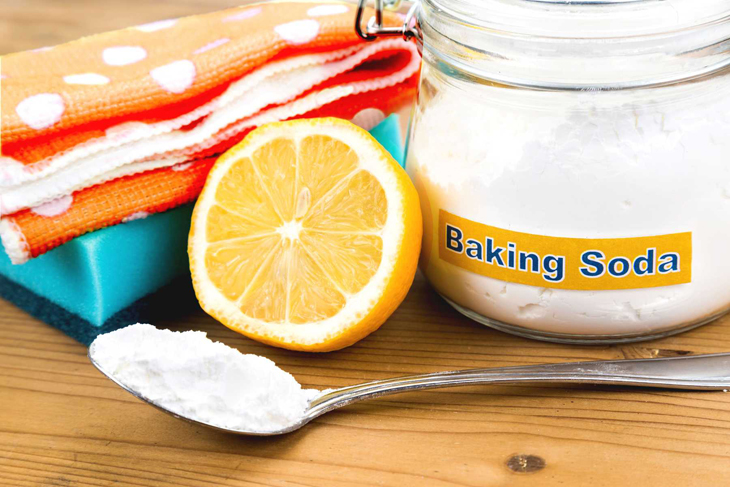
2. Baking soda paste: Make a paste by combining baking soda and water. Apply the paste to the yellowed areas and allow it to sit for about 15 minutes. Use a soft brush or sponge to scrub the walls gently. Rinse with water and ensure the walls are completely dry.
3. Bleach solution: Mix bleach and water in a ratio of 1:4. Be cautious while handling bleach, and ensure proper ventilation in the kitchen. Apply the solution to the yellowed walls and let it sit for a few minutes. Use a scrub brush or sponge to gently remove the stains. Thoroughly rinse the walls and ensure they are completely dry.
4. Commercial cleaning products: There are various commercial cleaning products available that are specifically designed to remove yellow stains. Follow the instructions provided on the product and ensure proper ventilation while using them.
5. Prevention measures: To prevent yellowing of kitchen walls in the future, ensure proper ventilation while cooking to prevent grease and smoke buildup. Wipe down the walls regularly with a gentle cleaning solution to avoid stains from setting in.
These effective methods should help restore the cleanliness and freshness of your kitchen walls. Remember to take necessary safety precautions and choose the method that suits your specific needs.
For effective cleaning, follow these steps:
1. Prepare lemon juice by squeezing the juice of two lemons.
2. Dampen a cloth and soak it in the lemon juice.
3. Gently wipe stubborn stains with the lemon-soaked cloth.
4. Leave the lemon juice on the stains for a duration of 10 minutes.
5. Once the time has elapsed, use a clean cloth to wipe away the lemon juice and residue.
Following these simple yet efficient steps will help you achieve a sparkling clean surface.
Use cornstarch: Create a mixture of cornstarch and water and apply it evenly on the soiled areas. Allow the cornstarch to dry naturally before using a piece of bread to effectively clean the surface.
To effectively remove stains from kitchen walls, consider using a combination of vinegar and baking soda. Begin by mixing the two ingredients together and then apply the solution to a cloth. Gently wipe the affected areas on the walls, allowing the solution to sit for approximately 10 minutes. Afterward, use a damp cloth to wipe away the mixture. Alternatively, you can also utilize baking soda alone as a cleaning agent for the walls.
“Step-by-Step Guide to Cleaning Gas Stove Grates”
Gas stove grates are an essential component that tends to accumulate grease over time. It is important to clean them regularly to prevent the grease from building up and becoming challenging to remove.
Gas stove grates often contain intricate details that can be challenging to clean using traditional methods. To effectively clean your gas stove, please follow the steps outlined below:
To clean the gas stove grates, gather the necessary supplies: hot water, dishwashing liquid, a sponge, all-purpose cleaner, and paper towels.
To begin, remove the grates from the stove and carefully transfer them to the sink. Proceed by pouring boiling water directly onto the grates, effectively eliminating grease and loosening tough stains.
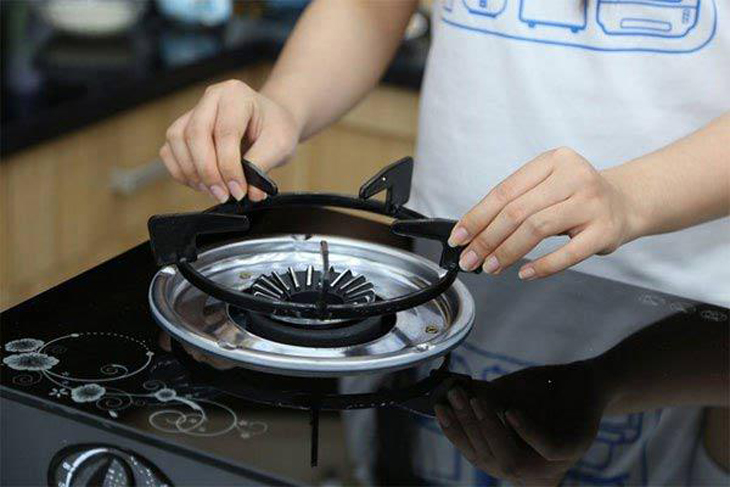
To effectively clean the sink, follow these steps:
1. Begin by blocking the sink drain.
2. Pour hot water over the grates.
3. Add a small amount of dishwashing liquid.
4. Allow the solution to soak for 10-15 minutes.
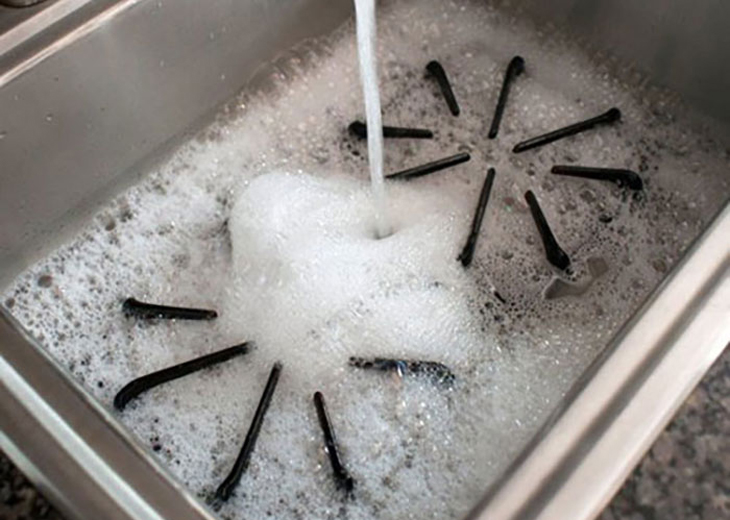
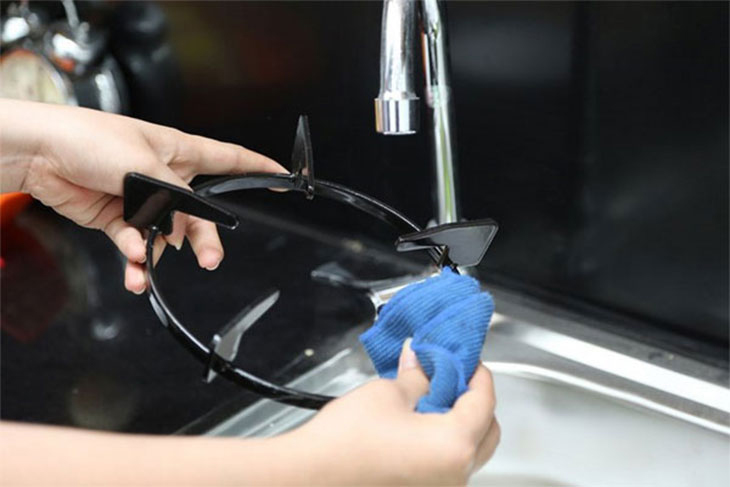
After soaking, if you encounter persistent stains, apply a small amount of all-purpose cleaner onto a sponge and scrub the affected areas. Rinse the grates with warm water and allow them to air dry. Pat dry with a paper towel.
Tips for Cleaning Wooden Cutting Boards
Regular cleaning and maintenance of wooden cutting boards is crucial for ensuring their hygiene and longevity. Over time, these boards can accumulate bacteria and odors, which necessitates thorough deodorization and cleaning.
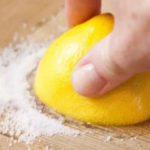
To begin, properly sanitize the cutting board using a solution of vinegar and water. Afterwards, apply a small amount of salt onto the board and gently scrub it using half a lemon, along with the salt. Conclude by rinsing the cutting board thoroughly with clean water.
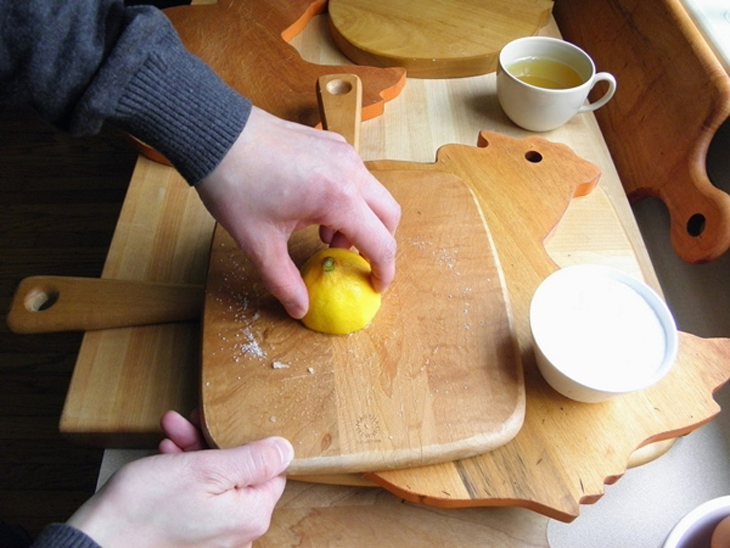
By following these steps, your wooden cutting board will effectively remove odors and attain a higher level of cleanliness.
Guide to Cleaning Greasy Frying Pans
To restore the frying pan’s pristine condition, add a small amount of vinegar to the pan and bring it to a boil. This method effectively cleans the interior of the pan, leaving it looking as good as new.
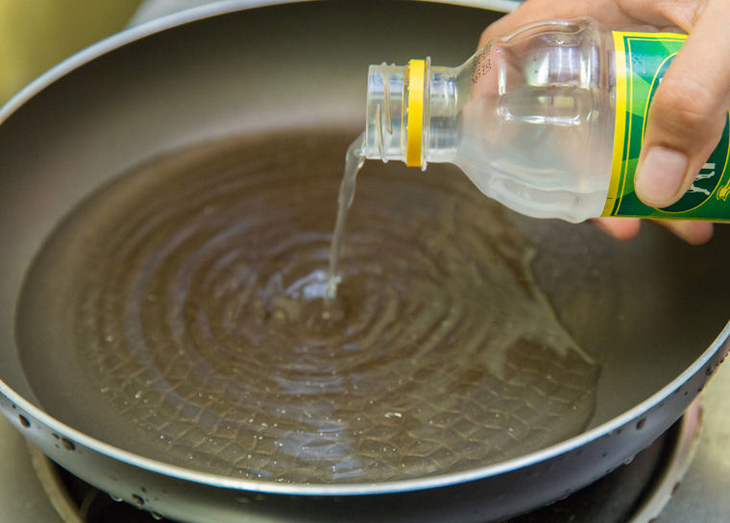
To clean the pan, first, empty the vinegar and allow it to cool down with cold water. While the pan is still warm, delicately utilize baking soda to scrub both the inner and outer surfaces. Finally, wipe the pan with a soft cloth or sponge to ensure its cleanliness.
Tips for Clearing Odors and Stains in the Refrigerator
Properly eliminating refrigerator odors is essential for ensuring optimal freshness and cleanliness of stored food.
– Baking soda: Sprinkle baking soda on a plate or bowl and place it in your refrigerator. Leave it for a few days to absorb the odors. Replace with fresh baking soda as needed.
– Coffee grounds: Place freshly ground coffee in a bowl or coffee filter and leave it in your refrigerator for a few days. The coffee will naturally absorb the odors.
– White vinegar: Fill a small bowl with white vinegar and place it in your refrigerator. Leave it for a few days to neutralize any unpleasant odors.
– Lemon or citrus peels: Place lemon or citrus peels in a bowl and leave it in your refrigerator for a few days. The natural oils in the peels will help eliminate odors.
Remember to regularly clean and declutter your refrigerator to prevent odors from building up.
Orange or Lemon Peels: Utilize the natural properties of orange or lemon peels to eliminate unpleasant odors in your refrigerator. Simply wash and dry the peels, and then strategically place them in the corners of the refrigerator. Allow approximately 3 days for the peels to effectively absorb and neutralize any unwanted smells.

For optimal freshness, we recommend utilizing fresh lime by thinly slicing it and placing the slices in separate compartments within your refrigerator.
To effectively utilize tea:
– Measure out approximately 50 grams of quality floral tea.
– Securely enclose the tea within a small cloth bag.
– Store the bag in the refrigerator.
– Over time, the tea’s essence will naturally absorb any unpleasant odors present within the refrigerator.
Coffee grounds: After brewing coffee, you can repurpose the used coffee grounds by wrapping them in a piece of cloth and storing them in the refrigerator. This coffee bag can maintain its freshness for up to 3 weeks.
To effectively clean the refrigerator, there may be yellow stains caused by dirt, sand, and water staining. Follow these easy steps to ensure a thorough cleaning:
To create a cleaning solution, combine approximately 30 grams of baking soda with 500ml of warm, clean water. Stir the ingredients until the baking soda is completely dissolved.
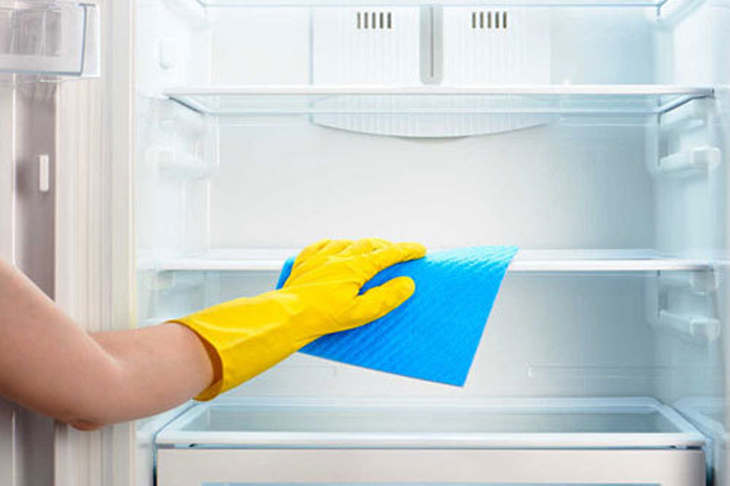
To effectively remove stains, use a sponge soaked in the cleaning solution. Scrub the stained area multiple times for thorough cleaning. Allow it to dry for a period of 5-10 minutes before wiping the previously dirty area with a clean, soft cloth.
These are the instructions for five effective tips to thoroughly clean your kitchen, even in the most heavily soiled areas. We hope that by following these tips, you can achieve a sparkling clean and convenient kitchen!


