


 – 5 Must-Visit Attractions for an Unforgettable Experience")

: Top 5 Must-Visit Spots")

Setting up the Projector for Optimal Display
1. Calibration in 10 minutes
The goal is to configure the projector to display a natural-looking image within 10 minutes. Choose appropriate modes for the presentation content. Some projectors have built-in calibration tests or setup instructions.
Several preset image calibration modes are available, including movie, cinema, sport, game, dynamic, and user. Depending on the presentation content, select and set the appropriate mode. For example:
– Movie and cinema modes are suitable for watching movies, enhancing warm tones and creating a captivating cinematic image.
– The game mode brings out cooler colors, making it ideal for computer graphics.
– The dynamic mode produces brighter and vivid colors, but may not accurately represent the image and can be overly colorful.
– The standard mode is for TV programs.

2. Adjust brightness, black level, and contrast
Adjusting the brightness, black level, and contrast are important parameters of the projector. Higher values do not always result in better quality; it depends on the intended use and presentation purpose. Adjusting the brightness helps set the darkness of dark areas in the image to a certain limit. If using the projector during the day, consider closing the curtains to improve both the black level and brightness.
For watching movies, set the projector to the cinema or movie mode. Adjust the brightness settings until the overall image is bright enough and the black areas of the image are convincingly dark. The correct setting should enable you to see details like black cats moving at night.
Adjust the contrast to the maximum and then gradually decrease it to see details in the dark areas. The ideal contrast level for most projectors is around 30% to 50%.

3. Set color, color temperature, and sharpness
The easiest way to adjust color and color tone is to compare it with skin tones. Adjust the color slider until the colors look completely natural. Set the color temperature to match natural outdoor light for realistic and natural colors. The sharpness setting is a balance between displaying full HD detail and maintaining edge integrity. Setting the sharpness too high can cause jagged edges, while reducing it too much can blur the details.

4. Color processing
Color processing enhances the intensity of colors, brightness, and sharpness of images, creating a vibrant and attractive color impression for viewers. Important adjustment buttons on projectors include TILT (raising and lowering the lamp height), focus (some models have auto focus, while others require manual adjustment), and zoom (for adjusting the image size).

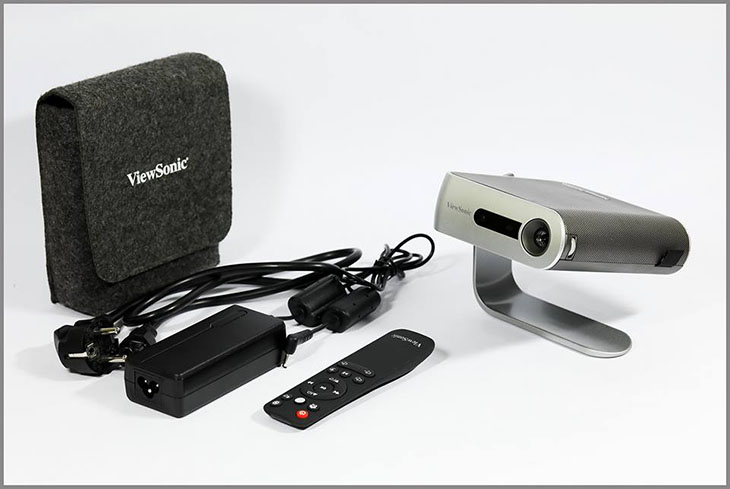
5. Sources and connection ports
Using appropriate sources and connection ports is essential for optimal projector performance. Check the number and types of input signal ports on your projector. Common ports in older models include VIDEO, VGA IN, and S-VIDEO, while newer models may have additional ports. When connecting cables, insert them firmly into the corresponding ports and tighten any screws for secure connections. When unplugging, hold the plug end and gently pull it out without bending the cord. Ensure a secure and stable connection between the power cord and power socket. Avoid abrupt power cuts, as they can reduce the lifespan of the projection lamp. Follow the manufacturer’s specified procedure for turning the machine on and off.
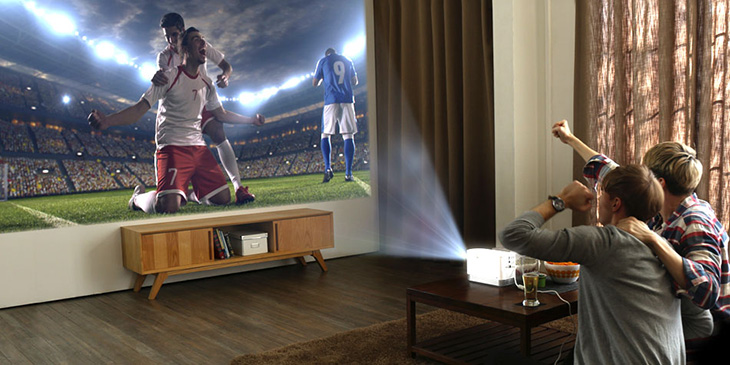
6. Choose the appropriate screen
Various types of screens are available, such as wall-mounted pull-down screens, portable screens with three legs, electric screens, curved frame screens, fixed frame flat screens, folding frame screens, and silver 3D screens. Alternatively, you can use a white wall for image projection. Silver 3D screens or cinema screens stand out for their ability to reduce light behind the screen, but they tend to be more expensive. Choose a screen based on your usage needs and budget.
Additionally, avoid moving the projector while it is operating, keep the machine well-ventilated, and clean the projector to prevent dust accumulation on the lamp and internal components. These actions will help maintain a clear image on the projector screen and extend the projector’s lifespan.
Uncovering the Keys to Achieving a Stylish Home Interior

Are you looking for some inspiration for how to decorate your home? Look no further – here are some design principles to get you started.
How to Use f.lux to Adjust Screen Brightness and Protect Your Eyes on a Computer

Have you heard of f.lux but have struggled with how to use it correctly and effectively to protect your eyes? Look no further than our comprehensive guide on how to use f.lux. We provide detailed descriptions of its features as well as step-by-step instructions on how to install and use f.lux automatically on your computer.
6 Easy and Fast Ways to Connect your Computer to a Projector

Connecting your computer to a projector allows you to display images and videos from your personal computer on a larger screen with the best quality possible. So how do you go about making this connection, in a simple and efficient manner, without wasting too much time? This article will provide you with a detailed guide on how to do just that. Let’s get started right away!
5 Ways to Prevent Your Phone from Getting Too Hot

Have you ever wondered how to prevent your phone from overheating? This article will provide you with guidelines on how to do so.


