


On Windows 7, it’s not uncommon to encounter audio issues, and these problems can manifest in various ways. To fix audio issues on Windows 7/8, you need to diagnose the specific problem and apply the appropriate solution. One such issue is when the audio suddenly stops working, and you see a red X mark on the speaker icon in the taskbar. This problem could be due to various reasons, including virus infections, where the audio volume fluctuates unpredictably.
Method 1: Modify the Registry
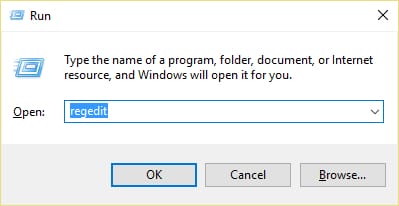
Step 1: Press the Windows + R keys together, type regedit, and hit Enter to launch the Registry Editor.
Step 2: Navigate to the following registry key:
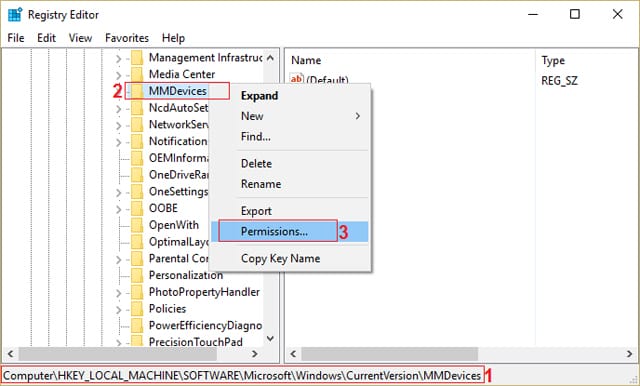
Computer\HKEY_LOCAL_MACHINE\SOFTWARE\Microsoft\Windows\CurrentVersion\MMDevices
Step 3: Click on MMDevices and then select Permissions from the menu.
Step 4: In the Permissions window, ensure that Full Control is selected for SYSTEM, Administrator, and user.

Step 5: Click Apply and then OK to save the changes.
Step 6: Now, navigate to the following registry key:
Computer\HKEY_LOCAL_MACHINE\SOFTWARE\Microsoft\Windows\CurrentVersion\MMDevices\Audio
Step 7: Repeat Steps 4 and 5 to grant Full Control to Admin, user, and SYSTEM for this key as well.
Step 8: Close the Registry Editor and restart your computer. This method should fix the red X mark on the speaker icon in Windows 10. If it doesn’t, proceed to the next method.
Method 2: Ensure Windows Audio Services are Running
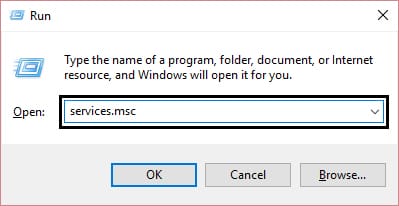
Step 1: Press Windows + R, type msc, and hit Enter.
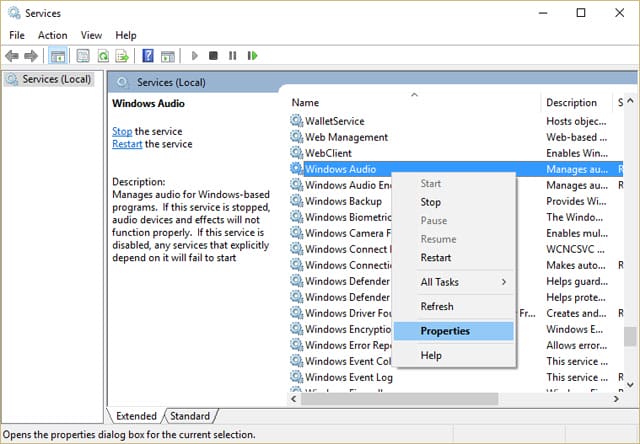
Step 2: Scroll down until you find Windows Audio, right-click on it, and select Properties.
Step 3: Ensure that the service is running by clicking Start and setting the Startup type to Automatic.

Step 4: Click Apply and then OK.
Step 5: Perform the same steps for the Windows Audio Endpoint Builder service.
Step 6: Close all programs and restart your computer to apply the changes.
Method 3: Update Audio Drivers
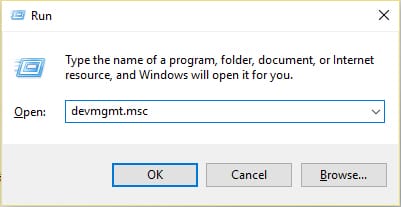
Step 1: Press Windows + R, type msc, and hit Enter to open the Device Manager.
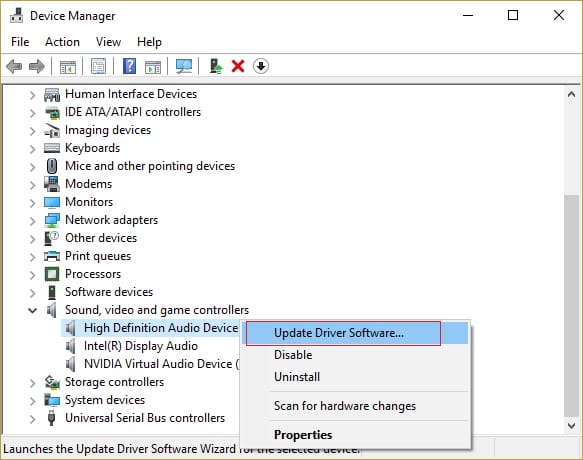
Step 2: Expand Sound, video and game controllers, right-click on your Audio Device, and select Enable (if it’s already enabled, skip this step).

If your audio device is already enabled, right-click on it and choose Update Driver Software.
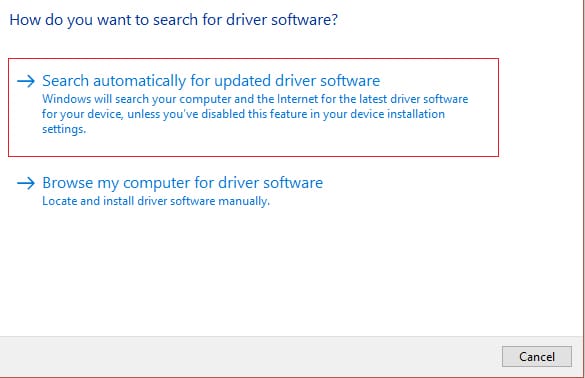
Step 3: Now, select “Search automatically for updated driver software” and follow the prompts.
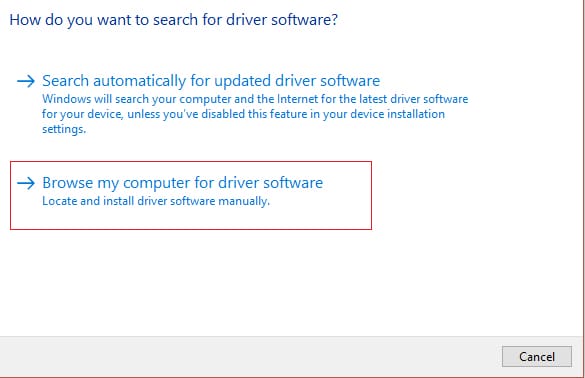
Step 4: If you can’t update the audio driver, choose Update Driver Software again.
Step 5: This time, select “Browse my computer for driver software.”
Step 6: Next, choose “Let me pick from a list of device drivers on my computer.”
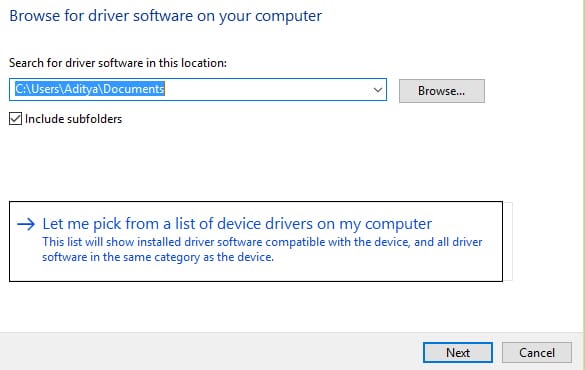
Step 7: Select the appropriate driver from the list and click Next.
Step 8: Wait for the process to finish and restart your computer.
Step 9: If you can’t find the right driver, visit the manufacturer’s website and download the latest driver from there.
Method 4: Uninstall Realtek High Definition Audio Driver
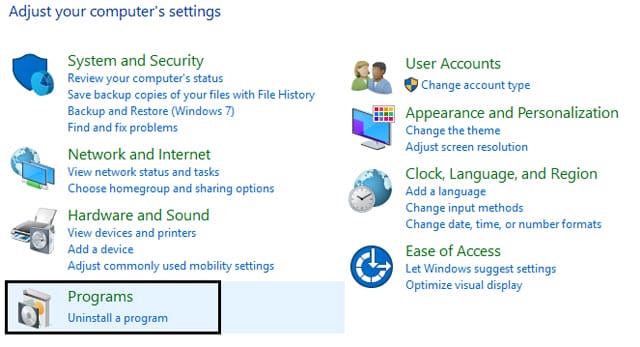
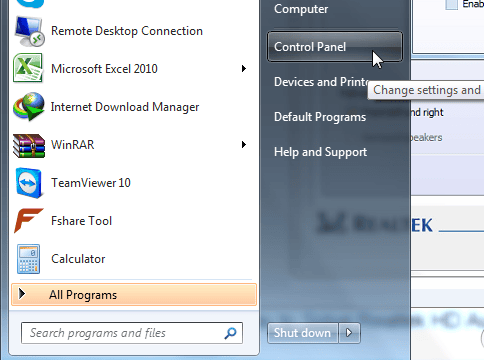
Step 1: Press Windows + X and select Control Panel from the menu.

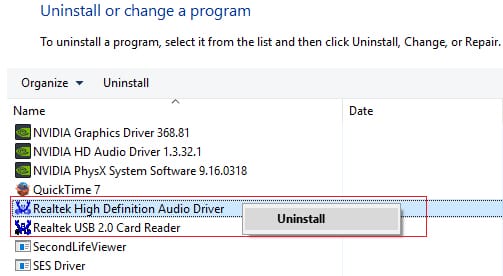
Step 2: Click on Uninstall a Program and locate Realtek High Definition Audio Driver.
Step 3: Right-click on it and choose Uninstall.
Step 4: Restart your computer and open the Device Manager again.
Step 5: Click on Action and then select “Scan for hardware changes.”
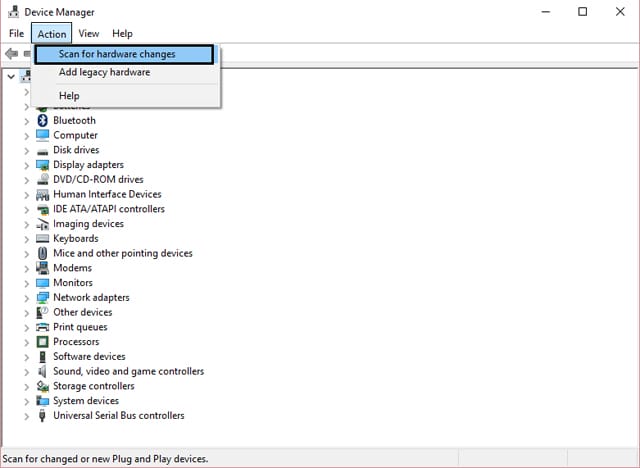
Step 6: The system will automatically fix the red X mark issue on the speaker icon.
If none of the above methods work, try the following steps:
Open Control Panel
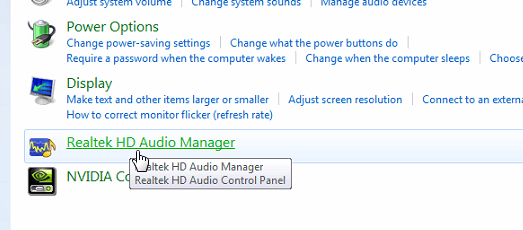
Select Hardware and Sound

Open Realtek HD Audio Manager
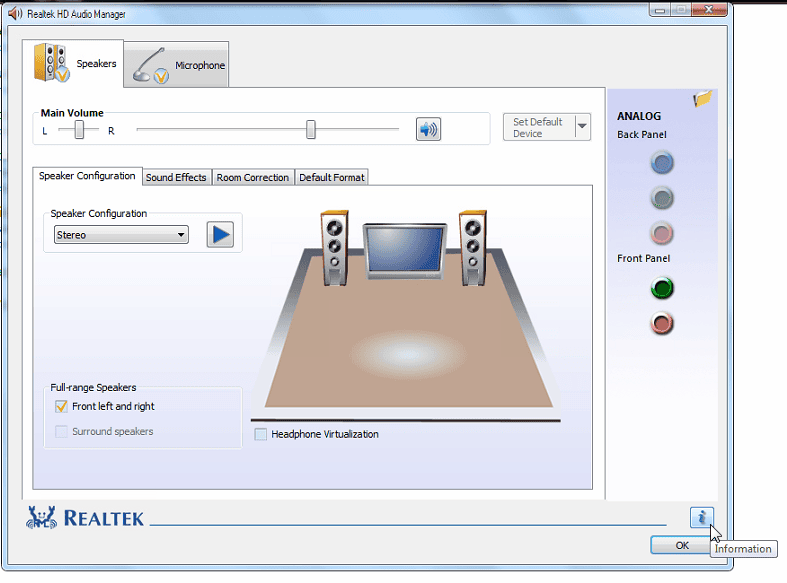
Click on the Information button as shown below
Uncheck the box for Display icon in notification area and click OK
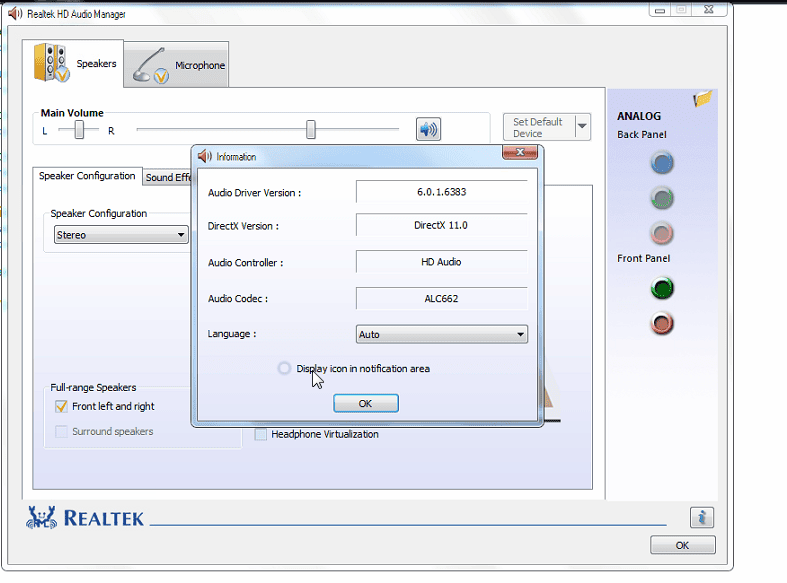
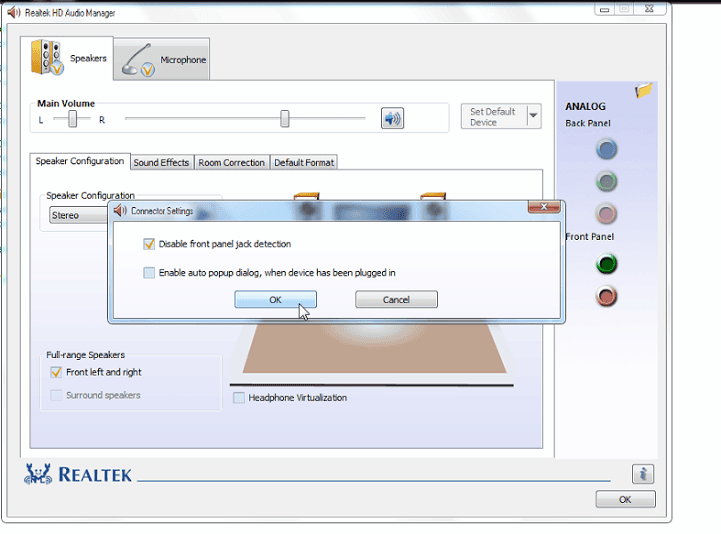
Next, select Connector Settings

Check the box for Disable front panel jack detection and click OK. This step is crucial.
Thank you for following this guide. If you found it helpful, please share it with your friends so they can also fix their audio issues. Good luck!
Cheers!
Why Does My Laptop Have No Sound? Uncover the Causes and Quick Fixes Within Seconds

Commonly seen nowadays, laptops are prone to losing audio capabilities. This issue can stem from various factors, including software conflicts and hardware malfunctions. Identifying the underlying cause empowers users to promptly and effectively resolve the problem. Explore our comprehensive guide at FPT Shop to delve into the details oftroubleshooting this issue.


