When frying or stir-frying vegetables, you can use lard to make the dish more appealing. However, many people do not know how to fry lard to make it both white and fragrant. With this cooking method, all you need to do is add a little special ingredient to have a box of “deliciously fatty” lard.
1. Ingredients for frying lard
– Lard: 500 grams
– Ginger
– Seasoning: 2 grams of ground pepper, 3 grams of salt
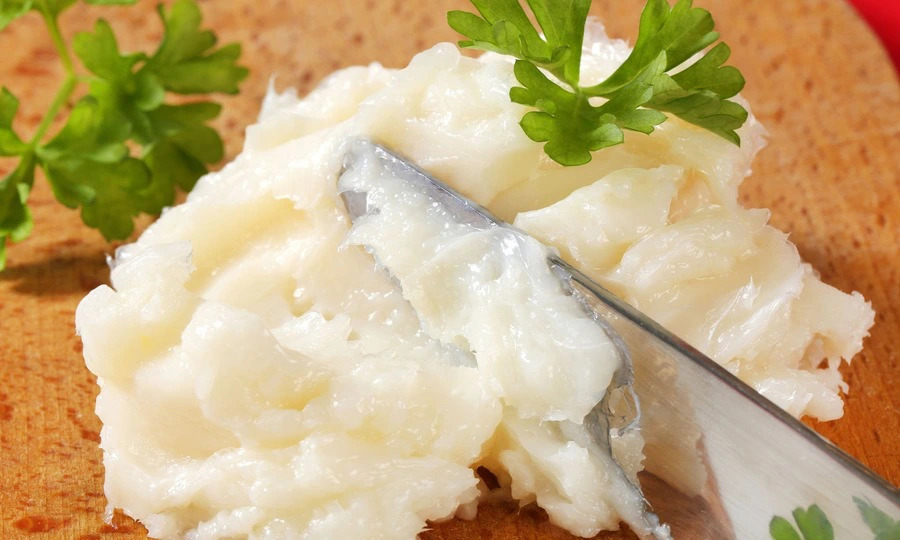
You should use lard to fry or stir-fry.
2. How to fry lard
Step 1: Preparing the lard
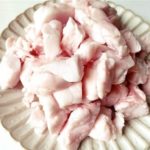
– After buying the lard, wash it clean and cut it into small bite-sized pieces. To fry the lard more quickly and save time, you should not cut the pieces too large.
– Additionally, you should refrigerate the lard for a few hours or freeze it for one hour before cutting.
– Peel and wash the ginger, then slice it thinly.
Step 2: Blanched lard
– Place a pan on the stove, put the pre-prepared lard into the pan, add water and a few slices of ginger, then bring it to a boil for blanching.
– Wait until the water in the pan boils, then use a cooking utensil to remove the foam and continue blanching the lard for 3 minutes. After that, scoop it out and let it drain. This step helps to make the lard whiter and removes the characteristic odor of the ingredient.
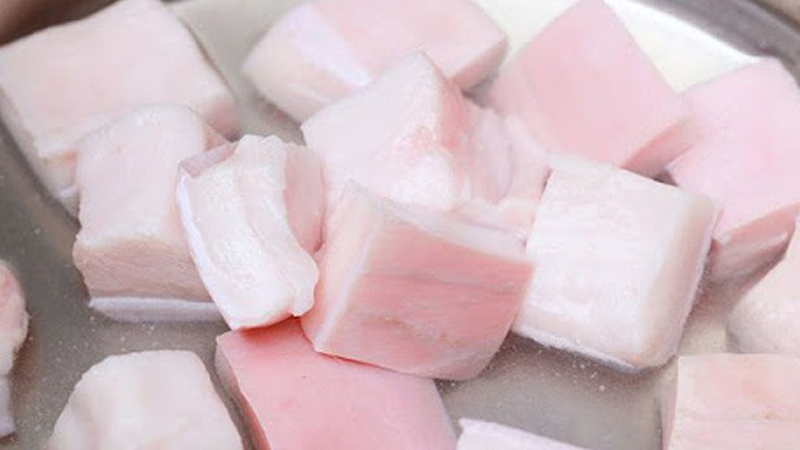
You should cut the lard into small pieces to fry it quickly.
Step 3: Frying the lard
– Put the blanched lard into a clean pan, then add water to prevent splattering during frying. Many people believe that adding water to the pan while frying will cause more oil splatters. However, in reality, adding water will prevent the lard from burning and make it whiter because during the frying process, the water will gradually evaporate.
– When first frying, you should use high heat and continuously stir with chopsticks to evenly heat the lard. After about 10 minutes of flipping, you will see the lard becomes cloudy, but don’t worry, it is a normal phenomenon.
– Continue flipping until the water evaporates and the lard becomes transparent, then reduce the heat and simmer slowly.
– Add ground pepper to make the lard more fragrant. Wait until the lard turns golden and shrinks, then turn off the heat.
– Take a clean glass jar or ceramic jar with a lid, put a little salt at the bottom, then pour the fried lard into it. This way, the salt will help preserve the lard for a longer time.
– Wait for the lard to cool completely, then close the lid and store it in the refrigerator.
After frying, the lard will have a bright white color and a fragrant aroma from the ground pepper. You can use lard to stir-fry, cook, or fry various dishes.
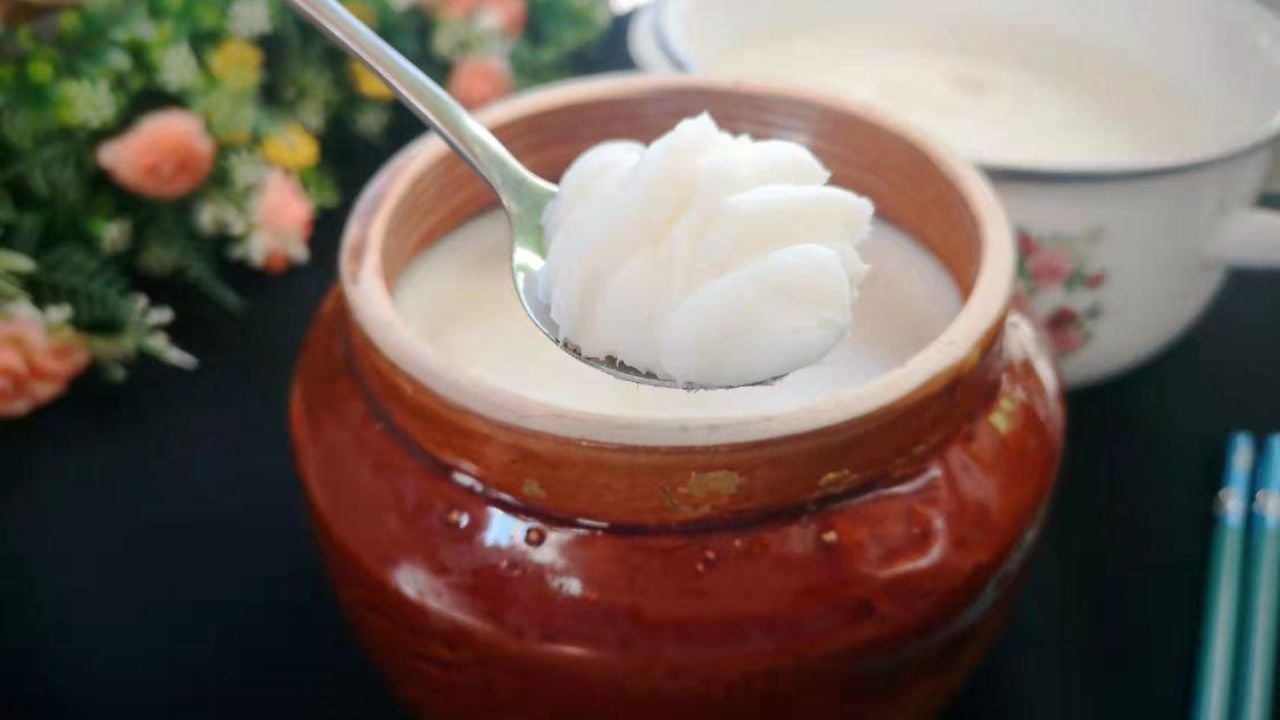
You can store lard in glass jars with lids.
3. Notes when frying lard
– People with metabolic disorders such as high blood fat, diabetes, obesity, atherosclerosis, etc. should limit the use of lard to avoid worsening their condition.
– It is advisable to store lard in glass or ceramic jars with lids. Additionally, the lard should be stored in a cool, dry place, and protected from direct sunlight.
– Choose pieces of lard that are milky white in color and still have good elasticity, without any strange color or fishy odor. It is best to buy pork back fat for frying to get crispy golden lard and flavorful fat when frying.
- Wash and cut the lard into small, bite-sized pieces. For quicker frying, avoid cutting the pieces too large.
- Refrigerate the lard for a few hours or freeze it for an hour before cutting.
- Peel and wash the ginger, then slice it thinly.
- Use high heat and continuously stir the lard with chopsticks to ensure even heating. Don’t worry if the lard turns cloudy, as this is normal.
- Keep stirring until the water evaporates and the lard becomes transparent. Then, reduce the heat and simmer slowly.
- Add ground pepper to enhance the fragrance. Continue frying until the lard turns golden and shrinks.


