


Leaking roofs, damp walls, and flooded floors are common issues faced by many homeowners, especially after heavy rainfall. In this article, we will explore effective waterproofing solutions for your floors, walls, and ceilings to keep your home dry and protected.
1. Waterproofing Your Floors
Water-damaged floors can lead to sinking, buckling, or cracking, depending on the severity of the issue. When water seeps into the floor, it can compromise the underlying cement structure partially or entirely.
Today, there are various flooring materials available, such as tiles, stone, and wood. Each material requires a different waterproofing approach:
For Tile and Stone Floors
To address water leakage, start by cleaning the floor surface with a mop or brush to remove any dirt or debris. Then, use specialized adhesives to reseal the grout lines between tiles. Finally, clean the floor and allow it to air-dry.
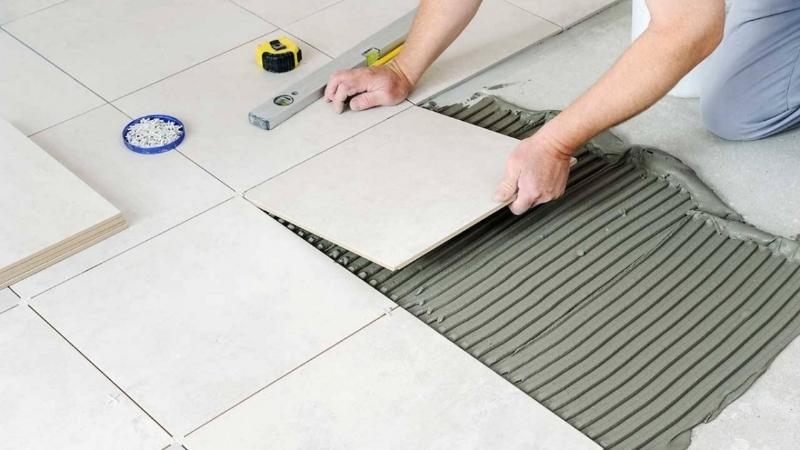 Repairing tile and stone floors
When cleaning, ensure that mops and brushes are wrung out thoroughly to avoid excess water on the floor, which could lead to reverse leakage. If your floor has sustained severe water damage and is cracked or broken, replacement may be necessary.
For Wooden Floors
Wood is naturally more absorbent than other flooring materials, and water damage can have more severe consequences. Minor damage may result in dampness, while severe cases can cause warping and buckling.
The best way to waterproof wooden floors is to prevent water from being spilled or puddled on the surface. In the event of water spillage or flooding, act quickly to remove the water and dry the area with towels or fans. Consider using dehumidifiers or air conditioners in dry mode to speed up the drying process.
 Addressing water damage on wooden floors
If the wooden floor has been saturated for an extended period, it may be necessary to replace the entire floor. Alternatively, you can use a waterproofing membrane to minimize the impact of water and reduce damage.
2. Waterproofing Your Walls
Walls are particularly susceptible to water damage, often resulting in peeling paint, dampness, and mold growth. This not only affects the aesthetics of your home but also poses health risks due to the proliferation of bacteria and mold.
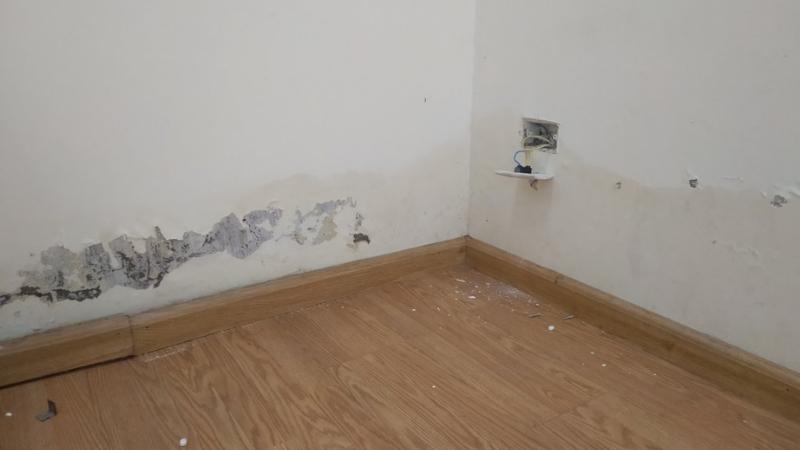 Water-damaged walls
To repair water-damaged walls, start by scraping off any peeling or blistered paint with a brush. Ensure you remove all loose paint to create a smooth surface. Next, apply a cleaning agent or mold-killing solution to the affected area to prevent mold regrowth.
Once the wall is dry, use sandpaper to smooth out the scraped area, and then apply a primer, followed by a waterproof coating and finally, a topcoat of paint. If the water damage covers a large area, wait for the wall to dry completely before repainting.
 Repairing water-damaged walls
As a temporary and cost-effective solution, you can consider using plastic sheets or foam panels to cover the affected areas. However, this approach is not a long-term fix and does not address the root cause of the problem.
3. Waterproofing Your Ceiling
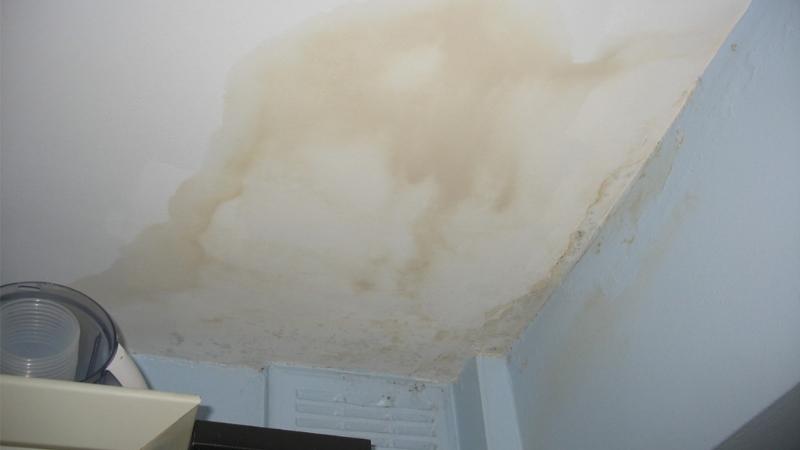
A leaking ceiling that drips water is a clear sign of severe water damage caused by heavy rain or storms. For minor stains or yellowing, you can use quick-drying waterproof paint to refresh the ceiling’s appearance.
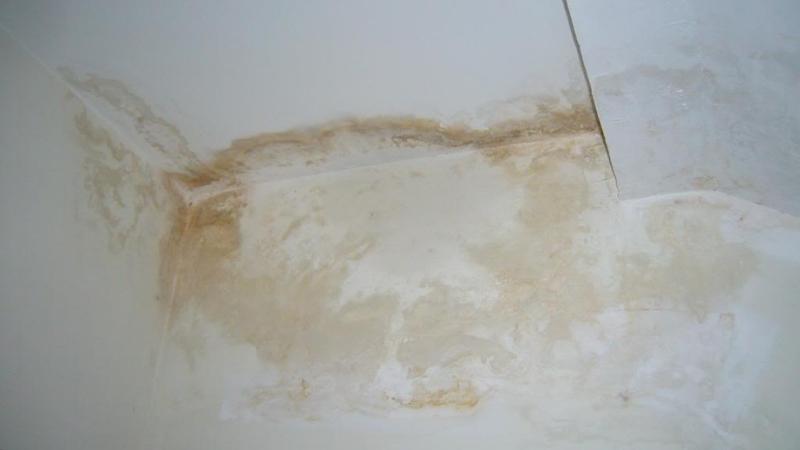 Water-stained ceiling
For more severe cases, you will need to remove the affected tiles and apply a layer of fiberglass and waterproof adhesive. Then, apply a layer of cement and retile the area.
 Repairing a water-damaged ceiling
To prevent ceiling water damage, ensure that your roof design includes proper drainage and slope to direct rainwater away from the structure. Additionally, consider using waterproof materials such as concrete to secure the roof structure and cover it with tiles or metal sheets to protect against the elements.
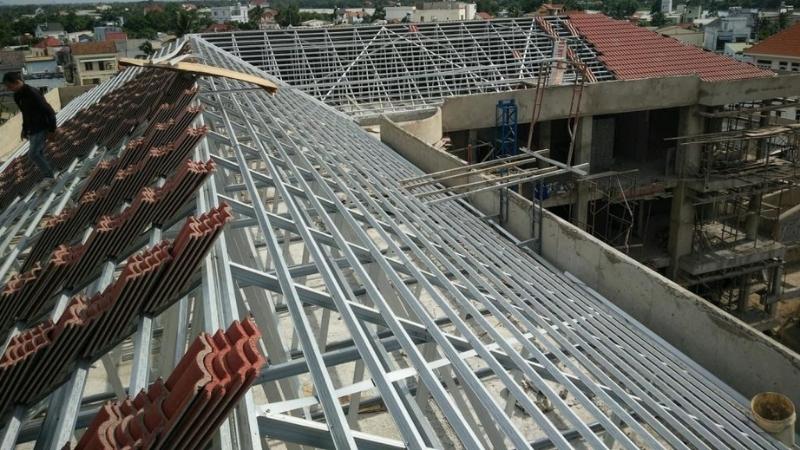 The importance of proper roof design
When building a new home, it is essential to engage a professional construction team that can implement effective waterproofing measures. Rectifying water damage after construction can be challenging, inconvenient, and costly.
We hope you found these tips on waterproofing your home helpful. Stay dry and safe during those heavy rainfalls!
The Ultimate Guide to Removing Wall Mold: A Quick and Easy DIY Solution

Over time, walls will inevitably encounter issues with dampness and peeling paint, and resolving these problems is no easy feat. Join us as we explore some handy tips and tricks to tackle these common issues.


